To configure the Incident & Investigation the ‘Specify Incident Types’ should be selected from the Activities box.
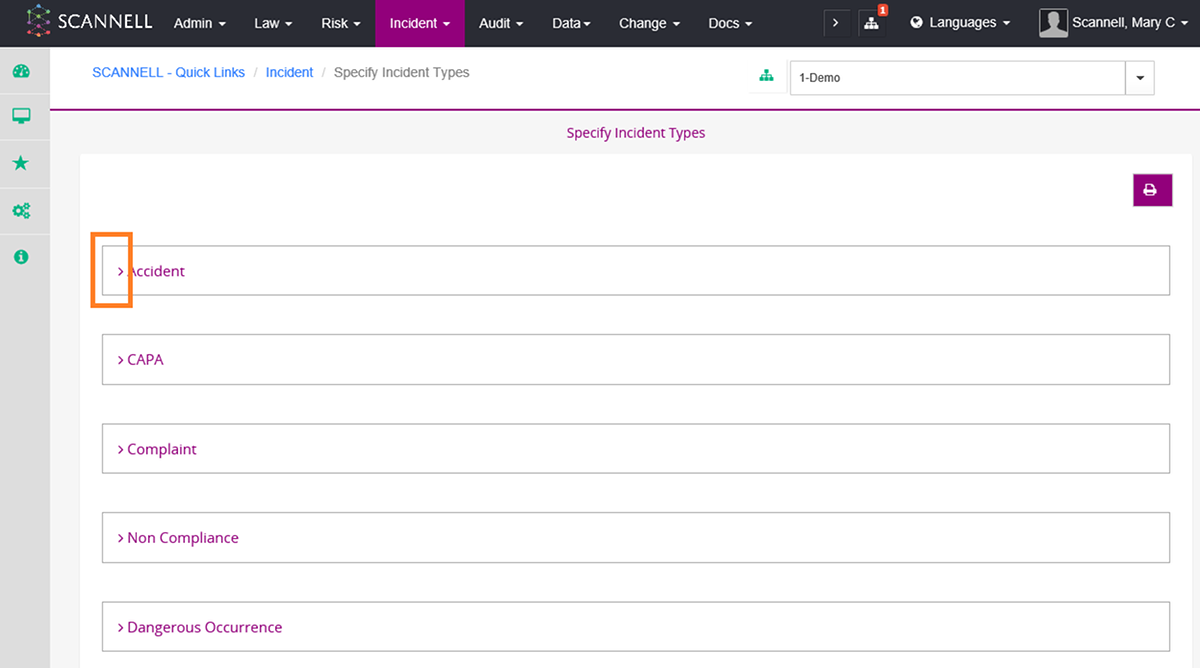
1. From the Activities Menu, select Specify Incident Types.
2. Select the sideward arrow on the incident Type (i.e. Incident , Near Miss) that requires configuring. This will expand to show details on the selected incident type.
3. Select ‘Edit’

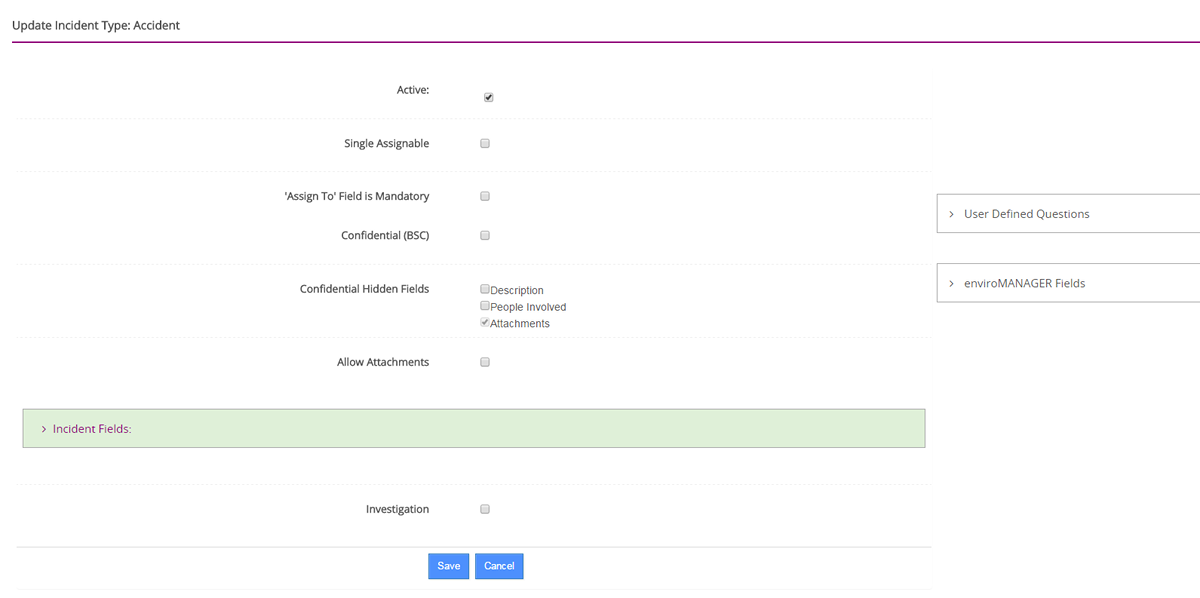
4. The ‘Update Incident Type’ page displays with a number of fields.
Active – If ‘Active’ is selected, then the specific incident type will display as an option when adding an incident
Single Assignable – If selected only one user can be assigned the incident, for this specific incident type. If unticked multiple users can be assigned the incident.
Assign to field is mandatory - If selected the incident of this type cannot be saved without the assign to field being populated.
Confidential – If confidential is selected, the attachments by default will not display for this incident type. A user can hide further fields through the ‘Confidential Hidden Fields’ by selecting ‘Description’ and ‘People Involved’. If selected these fields will be hidden for all users except users with the assignable access right ‘INCIDENT: Management/View Confidential Information Access’
Allow Attachments – If selected a user can add attachments to the incident created.
In order for a user to formulate the questions to display in the incident template, the downward arrow should be selected next to the following options:
Incident Fields – This field displays all questions that will appear in the specific incident template.
User Defined Questions – This field displays client specific questions which have been created by the client through the global configuration.
SCANNELL Fields – This field displays standard SCANNELL questions.
Once the downward arrow is selected the field expands, as displayed in the below print-screen.
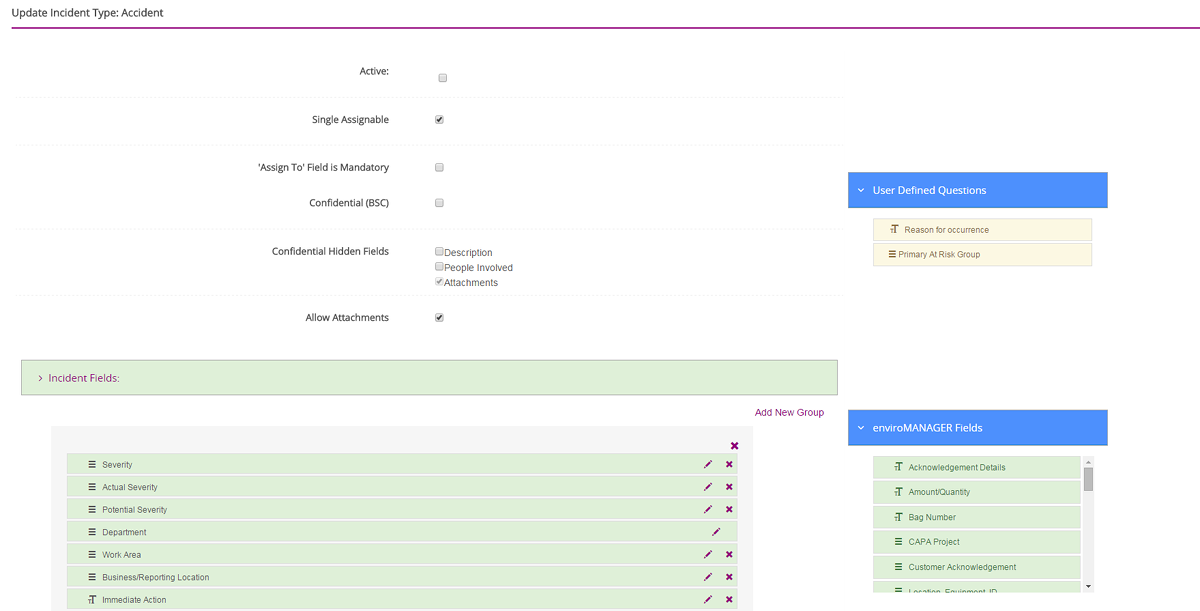
Users can select questions from the ‘User Defined Questions’ and ‘SCANNELL Fields’ and locate them into the ‘Incident Fields’ section. This is done by clicking on a question, dragging and dropping into the incident field.
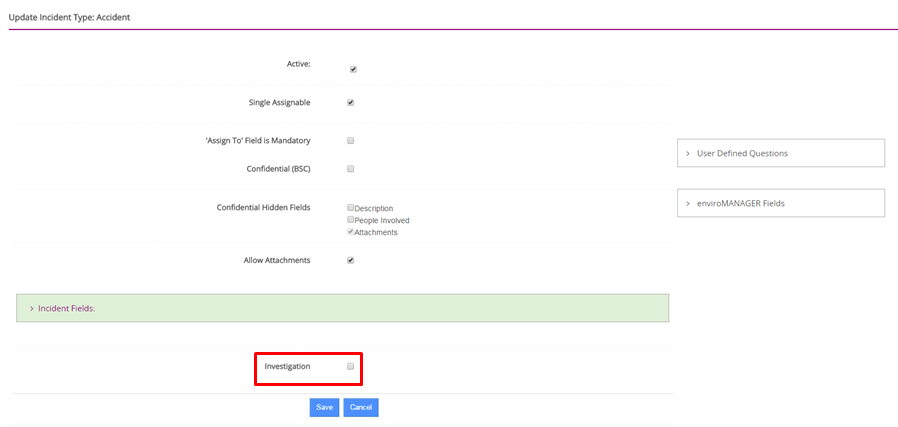
5. Scroll down the page, under the ‘Incident Fields’ the option ‘Investigation’ displays.
If a user selects this option, when the user is creating an incident (with the specific incident type) they will have the ability to create an investigation. If the ‘Investigation’ field displays un-ticked then the user will not have the ability to create an investigation.
Tick the ‘Investigation’ box.
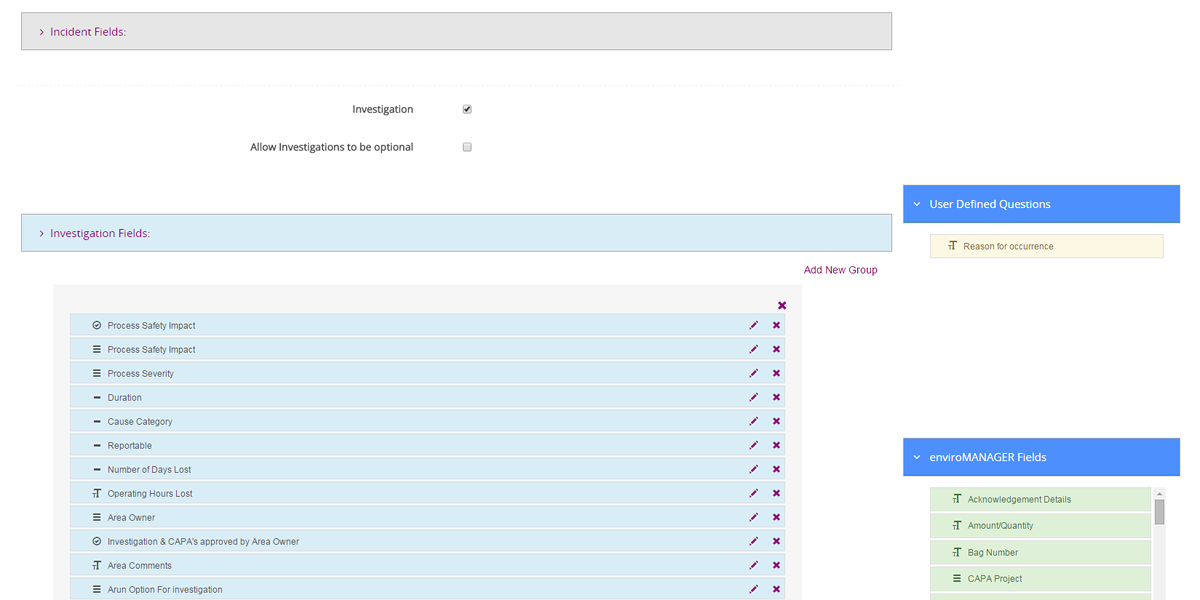
6. When the ‘Investigation’ field is selected the below fields appear below
Allow investigation to be optional – If selected a user can decide whether they wish to create an investigation or not for the particular incident. If un-ticked then the user will have to create an investigation in order to complete the incident.
Investigation Fields – This field displays question fields that display in the investigation template.
Select the sideward arrow next to ‘Investigation Fields’ to expand the field. As per the incident fields drag and drop questions from the ‘User Defined Questions’ and ‘SCANNELL Fields’ into the ‘Investigation Fields’ to formulate the investigation template.
7. Scroll down to the end of the page and select ‘Save’.
 A user has the
ability to re-arrange the order in which fields display by selecting a question,
dragging to new location and dropping.
A user has the
ability to re-arrange the order in which fields display by selecting a question,
dragging to new location and dropping.
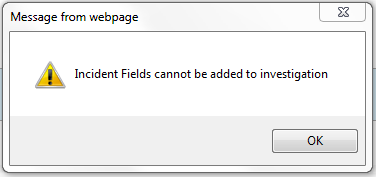
If a user
selects an incident field from the ‘SCANNELL Fields’ section and tried to drag
and drop into the ‘Investigation field’ the below messgae will appear.